Harry Potter’s Cloak WITH CODE | OpenCV Projects | Computer Vision Project
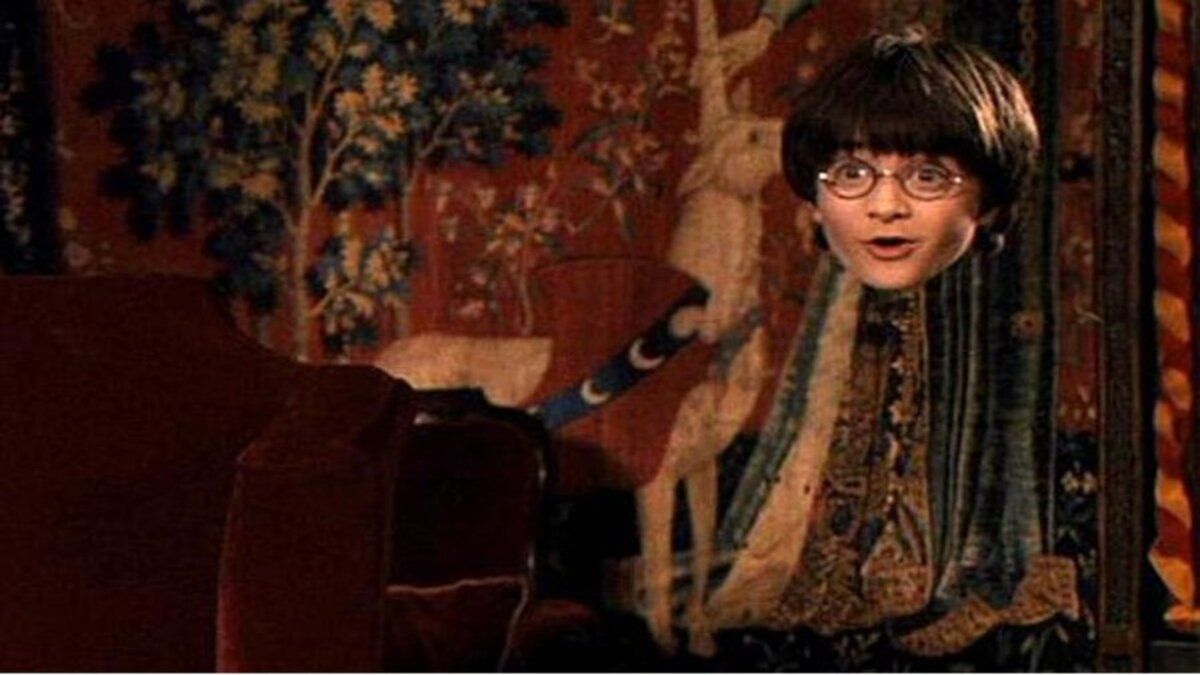
Have you ever dreamt of wearing an invisible cloak, just like Harry Potter? Well, get ready for an enchanting journey where technology meets magic! While we can’t whisk you into invisibility, we can certainly show you how to create the illusion of an invisible cloak in real life using the wizardry of OpenCV (Open Source Computer Vision Library). This invisible cloak project is a fusion of cinematic wonder and coding prowess, all inspired by the legendary Harry Potter series.
Github Link: Here
The Sneaky Science Behind the Invisible Cloak
Remember Harry Potter’s invisible cloak that allowed him to vanish into thin air? While we can’t promise you true invisibility, we can certainly replicate its magic. OpenCV, our tech spellbook, holds the key to making objects disappear and reappear with a wave of code.
🎥 Watch the Video:
Creating the Invisible Cloak Effect: Crafting Magic in Code
Let me break down the code into an algorithmic explanation:
1. Import Libraries:
– Import the necessary libraries, OpenCV , and NumPy.
2. Define Callback Function:
– Define a callback function `hello(x)` which is used as a placeholder for the trackbar callback.
3. Initialize Camera and Trackbars:
– Open the default camera.
– Create six trackbars to control the upper and lower values of Hue, Saturation, and Value (HSV).
4. Capture Initial Frame:
– Use a loop to capture frames from the camera until a frame is successfully retrieved.
– The initial frame is used as a reference for creating the background.
5. Main Loop for Video Processing:
– Enter a loop to continuously capture frames from the camera.
– Convert each frame to the HSV color space.
6. Read Trackbar Values:
– Read the current positions of the trackbars to get the upper and lower HSV values for color masking.
7. Create Mask:
– Create a binary mask based on the specified upper and lower HSV values.
– Perform median blur on the mask to reduce noise.
– Create an inverse mask by subtracting the mask from 255.
– Dilate the mask using a kernel.
8. Combine Frames:
– Split the original frame into its RGB channels (b, g, r).
– Perform bitwise operations to separate the colors based on the mask and inverse mask.
– Create a combined frame by combining the masked and inverse-masked frames.
9. Display Result:
– Display the final frame with the invisibility cloak effect in a window named “Harry’s Cloak”.
10. Exit Condition:
– Break out of the loop and close the application if the ‘q’ key is pressed.
11. Release Resources:
– Close all OpenCV windows and release the camera resource.
This algorithm describes the overall flow and functionality of the given Python code, which essentially implements a real-time video processing application with a color-based invisibility cloak effect.

Challenges and Triumphs in the Invisible Cloak Project
Much like any magical endeavor, creating an invisible cloak effect using OpenCV presents its share of challenges. Factors like lighting conditions and subject movements can influence the final outcome.
Code:
